
Our "Artshield" film has ultra violet filters to protect your print and over-laminate from yellowing. ARTIPLAQ™ 'encapsulates your print so that oxygen will not get to it and cause it to fade. There is no filter to protect 100% from fading, but our UV laminate is the best solution to prolong the life and color of your print. We are often asked by folks who print their own images, if they should use archival inks and paper. Archival inks and papers will further the life of your print whether you plaque mount or not.
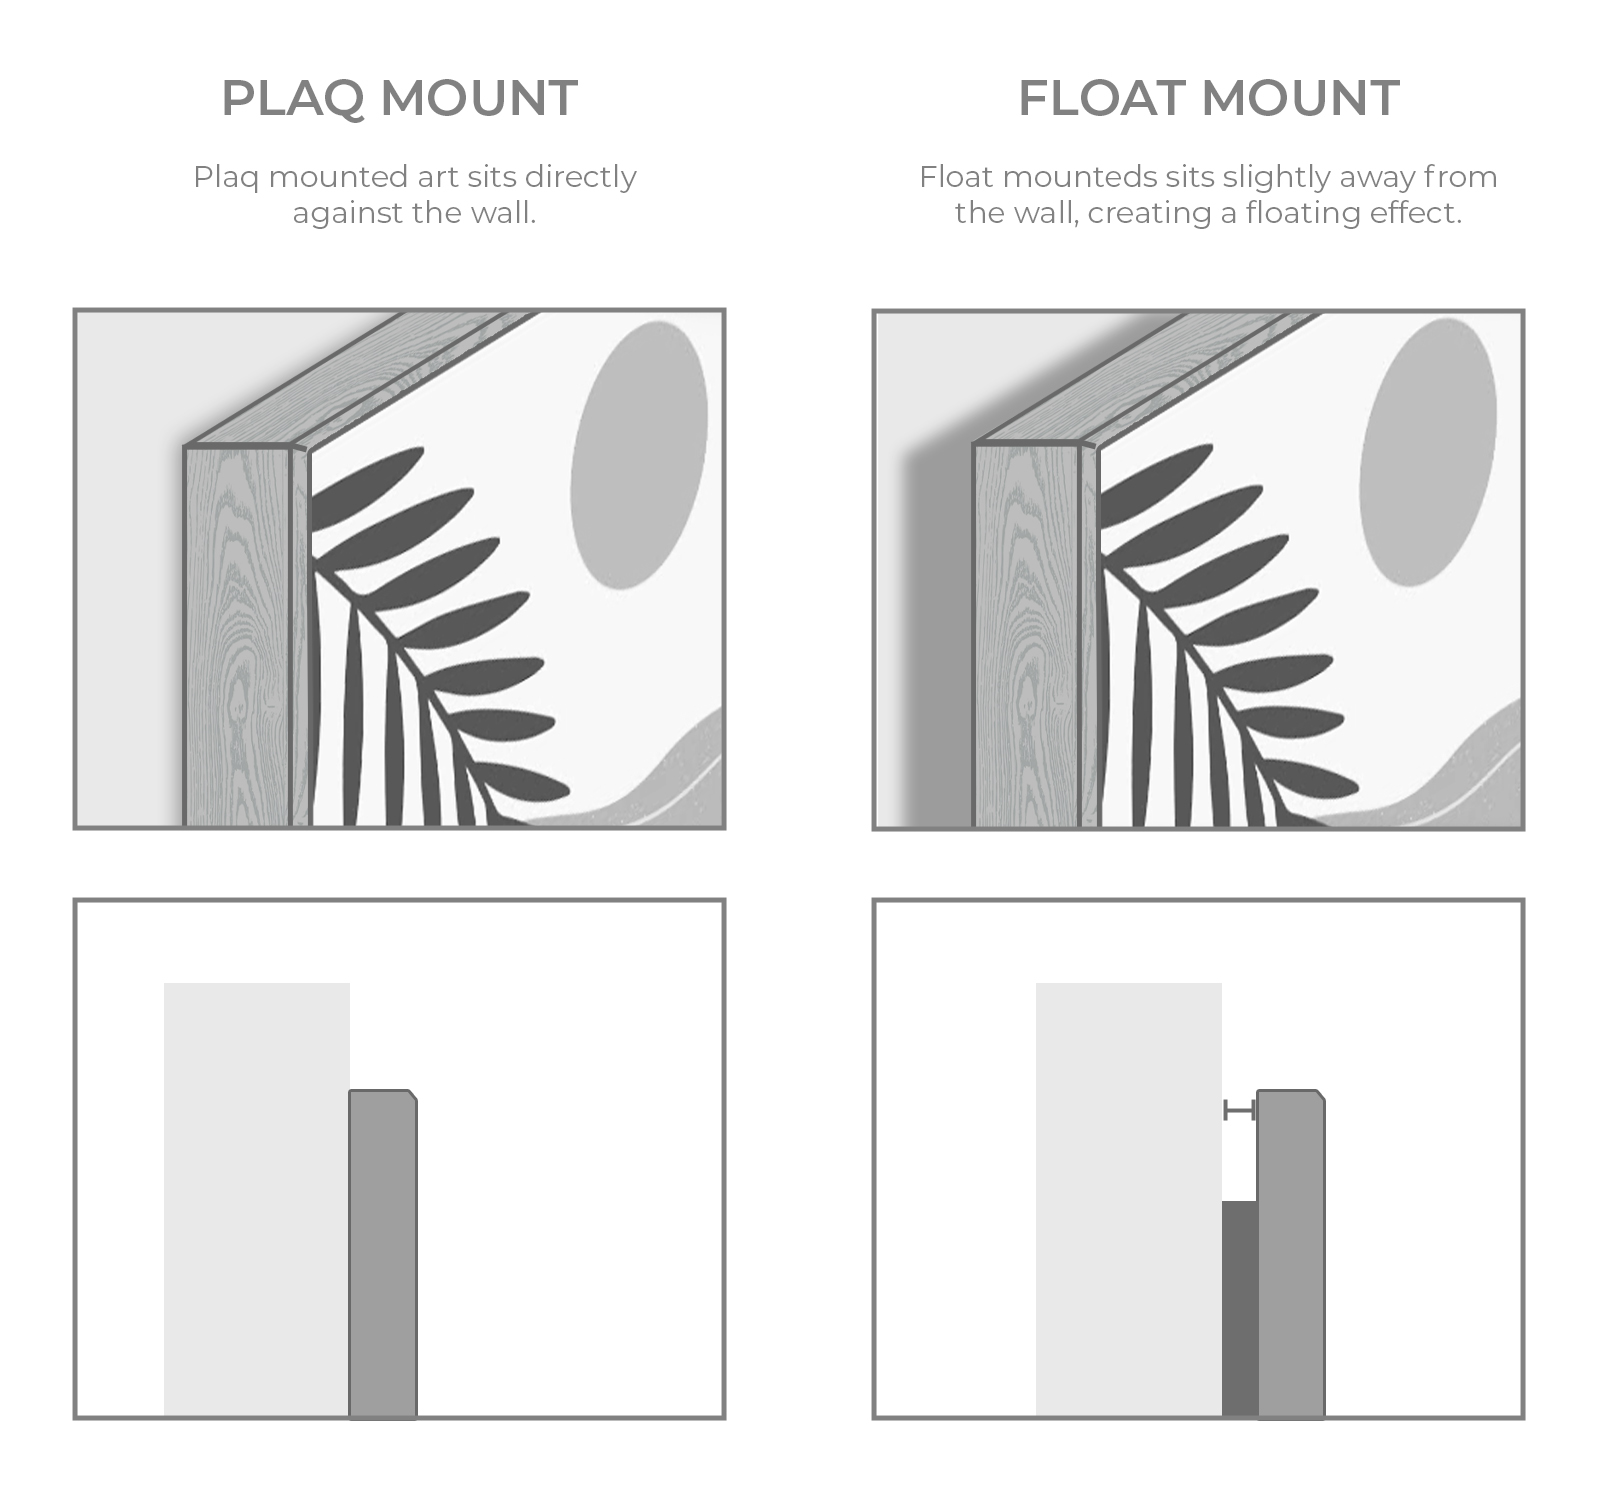
Common .ARTiPLAQ™ projects include: Maps, charts, art works on paper, giclee prints, photos, custom graphics, posters, photos, ink jet prints, newspaper & magazine articles, trail maps, ski, and concert posters, awards, safety guidelines, rules and regs, corporate mission statement, children's drawings, diplomas, awards, architectural renderings, concert & event posters, announcements, indoor signs, temporary signs, product promotions.
ARTiPLAQ™ is a permanent process and cannot be reversed, therefore, we do not recommend ARTiPLAQ™ for one-of-a kind items, irreplaceable items. Mold, tears, raw edges, stickers will not mounted well, but a flat, clean smooth surface is ideal for ARTIPLAQ™.
Position your ARTiPLAQ™on the wall in desired location. Find the center top of the desired location. With light pencil or painters tape mark the wall at the center top point of the desired ARTiPLAQ™ location Find distance “A”: Measure the distance from the top of the ARTiPLAQ™ to the channel on the back. From the mark on the wall measure down distance “A”. This is the location for the wall anchor and screw. Install anchor and screw. Note: The channel is designed for 1 #8 round head screw. For setting your screw into drywall we recommend using a dry wall anchor. If the screw location hits a stud, no anchor is required. Other types of anchors are available for plaster, brick or cement walls. Ask your hardware store professional if you have questions. The screw(s) should be set to a depth that will result in a small amount of friction between the wall and the ARTiPLAQ™. Ideally, the underside of the screw head is approximately 1/8th of an inch from the wall. Some trial and adjustment may be necessary. With your screw(s) properly anchored into the wall, rest the back of the ARTiPLAQ™ against the screw and slide up or down until the screwhead engages into the end of the channel. Pressing the ARTiPLAQ™ against the wall, slide it to the center of the slot. For a wide ARTiPLAQ™ there are 2 routed slots, so you would need one screw for each slot. You will need a level and pencil to mark the wall BEFORE you drill. If the ARTiPLAQ™ has two channels, engage one screw into a channel, then slide the ARTiPLAQ™ back past the other screw to engage the other screw. Lastly, reverse the direction to center the ARTiPLAQ™ on the pair. Congratulations in advance for a job well done!